How to Calibrate a Pipette: A Step-by-Step Guide
Accurate pipette calibration is essential for precision in labs, ensuring reliable results for experiments, clinical testing, and quality control. Follow this simple guide to calibrate your pipette effectively.
What is Pipette Calibration?
Pipette calibration checks if a pipette dispenses accurate and consistent volumes. This is done by comparing the dispensed volume to a standard using either gravimetric or photometric methods. Gravimetric calibration is the most common.
Types of Pipettes
- Single-channel Pipettes
- Multichannel Pipettes
Required Tools and Setup
Before beginning the calibration process, gather these essential tools:
- Analytical Balance (precision to at least 0.0001 grams)
- Distilled Water (pure and consistent density at room temperature)
- Temperature and Humidity Gauge
- Calibration Software or Spreadsheet (optional, for record-keeping and calculations)
- Lab Environment Control (ideally 20-25°C and stable humidity)
- Pipette Tips (specific to the pipette being calibrated)
Preparing for Calibration
- Ensure Environmental Stability: Calibration should take place in a controlled environment (temperature between 20-25°C). Avoid drafts, direct sunlight, or other environmental fluctuations.
- Set Up the Balance: Calibrate your analytical balance according to the manufacturer’s instructions. Ensure it’s on a stable, vibration-free surface.
- Condition the Pipette Tips: For accurate measurements, it’s critical to pre-wet the pipette tips by aspirating and dispensing distilled water several times before taking measurements.
Step-by-Step Calibration Process
Step 1: Determine the Target Volume(s)
Determine the volume(s) you’ll be testing. It’s common practice to check at the minimum, midpoint, and maximum volume settings for the pipette. For instance, if you’re calibrating a 100-1000 µL pipette, calibrate at 100 µL, 500 µL, and 1000 µL.
Step 2: Measure the Water Temperature
Measure the temperature of the distilled water with a thermometer. The density of water changes with temperature, so this will help correct for any slight discrepancies. Ideally, use water at around 20-25°C (density ≈ 0.998 g/mL).
Step 3: Perform Gravimetric Measurements
- Place the Tip on the Pipette: Use a fresh pipette tip, ideally one that matches the pipette model, and pre-wet it as previously mentioned.
- Zero the Balance: Place a small container or weighing boat on the balance and zero it.
- Aspirate and Dispense: Set the pipette to the target volume, aspirate distilled water, and dispense it into the container on the balance. Ensure the pipette angle is consistent, ideally vertical, for each measurement.
- Record the Weight: Note the weight of the dispensed water. Repeat this at least 10 times per target volume for accuracy.
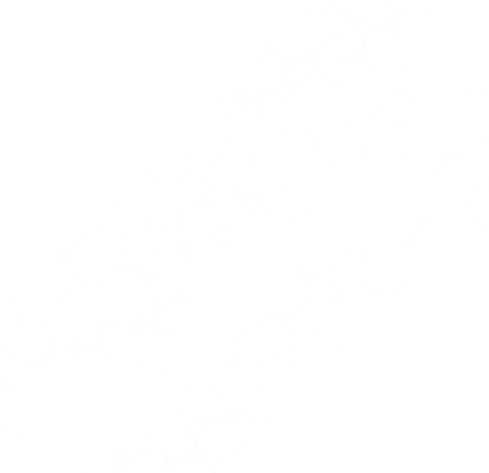
Step 4: Calculate the Dispensed Volume
Using the gravimetric data (mass of water dispensed), calculate the actual volume dispensed using the formula:
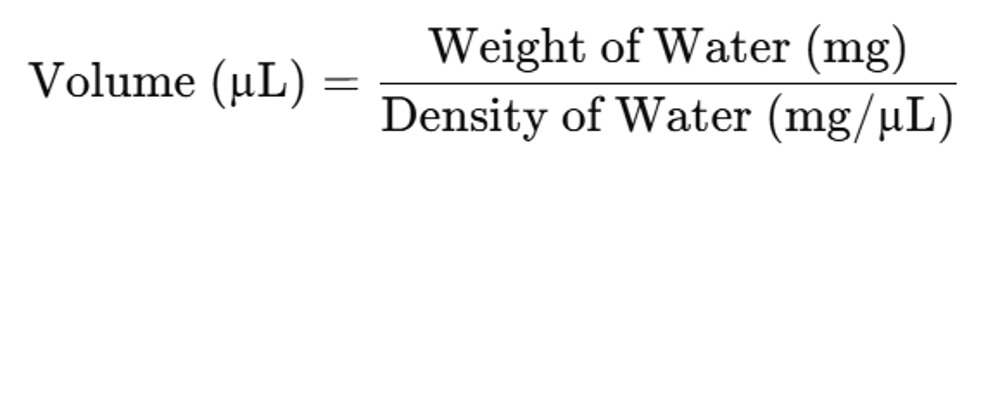
For example, if the dispensed water weighs 100 mg at 20°C (density ≈ 0.998 mg/µL), the calculated volume would be:
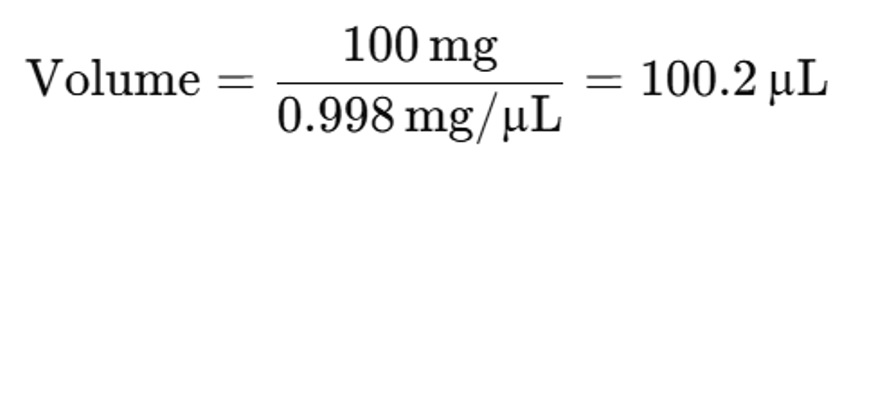
Step 5: Calculate Accuracy and Precision
- Accuracy – This shows how close the average dispensed volume is to the target volume. Use the following formula:
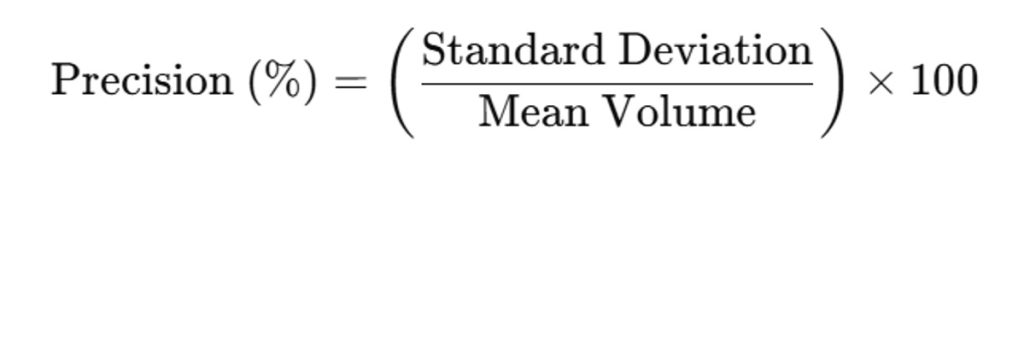
- Precision – This reflects the consistency across measurements. Calculate it as the standard deviation of your measurements:
Adjusting the Pipette (if necessary)
If the calculated accuracy is outside the acceptable range (often ±0.5-1%), adjust the pipette. Each pipette model has a unique adjustment mechanism, so refer to the user manual.
After adjustment, recalibrate by repeating the steps above to ensure the accuracy and precision fall within acceptable limits.
Documentation and Maintenance
- Record Calibration Results: Maintain a log of each pipette’s calibration details, including the date, target volumes, accuracy, and precision. Many labs keep these records in digital systems or binders.
- Establish a Routine Calibration Schedule: Depending on usage, pipettes should typically be calibrated every 3 to 12 months. High-use or critical application pipettes may need monthly checks.
- Regular Cleaning and Storage: Clean and maintain pipettes according to manufacturer guidelines. Proper storage and routine cleaning help prolong their accuracy and lifespan.
Conclusion
Calibration is vital for pipette reliability, directly impacting the validity of experimental results. A well-calibrated pipette will deliver reproducible results, ensuring consistency and accuracy in your lab work. By following this step-by-step calibration process and documenting results, you can help maintain high standards of data integrity in your laboratory environment.